


 Login
LoginNot a member? SIGN UP
 Reset Password
Please enter your registered email address below to receive password reset instructions
Already a member? SIGN IN
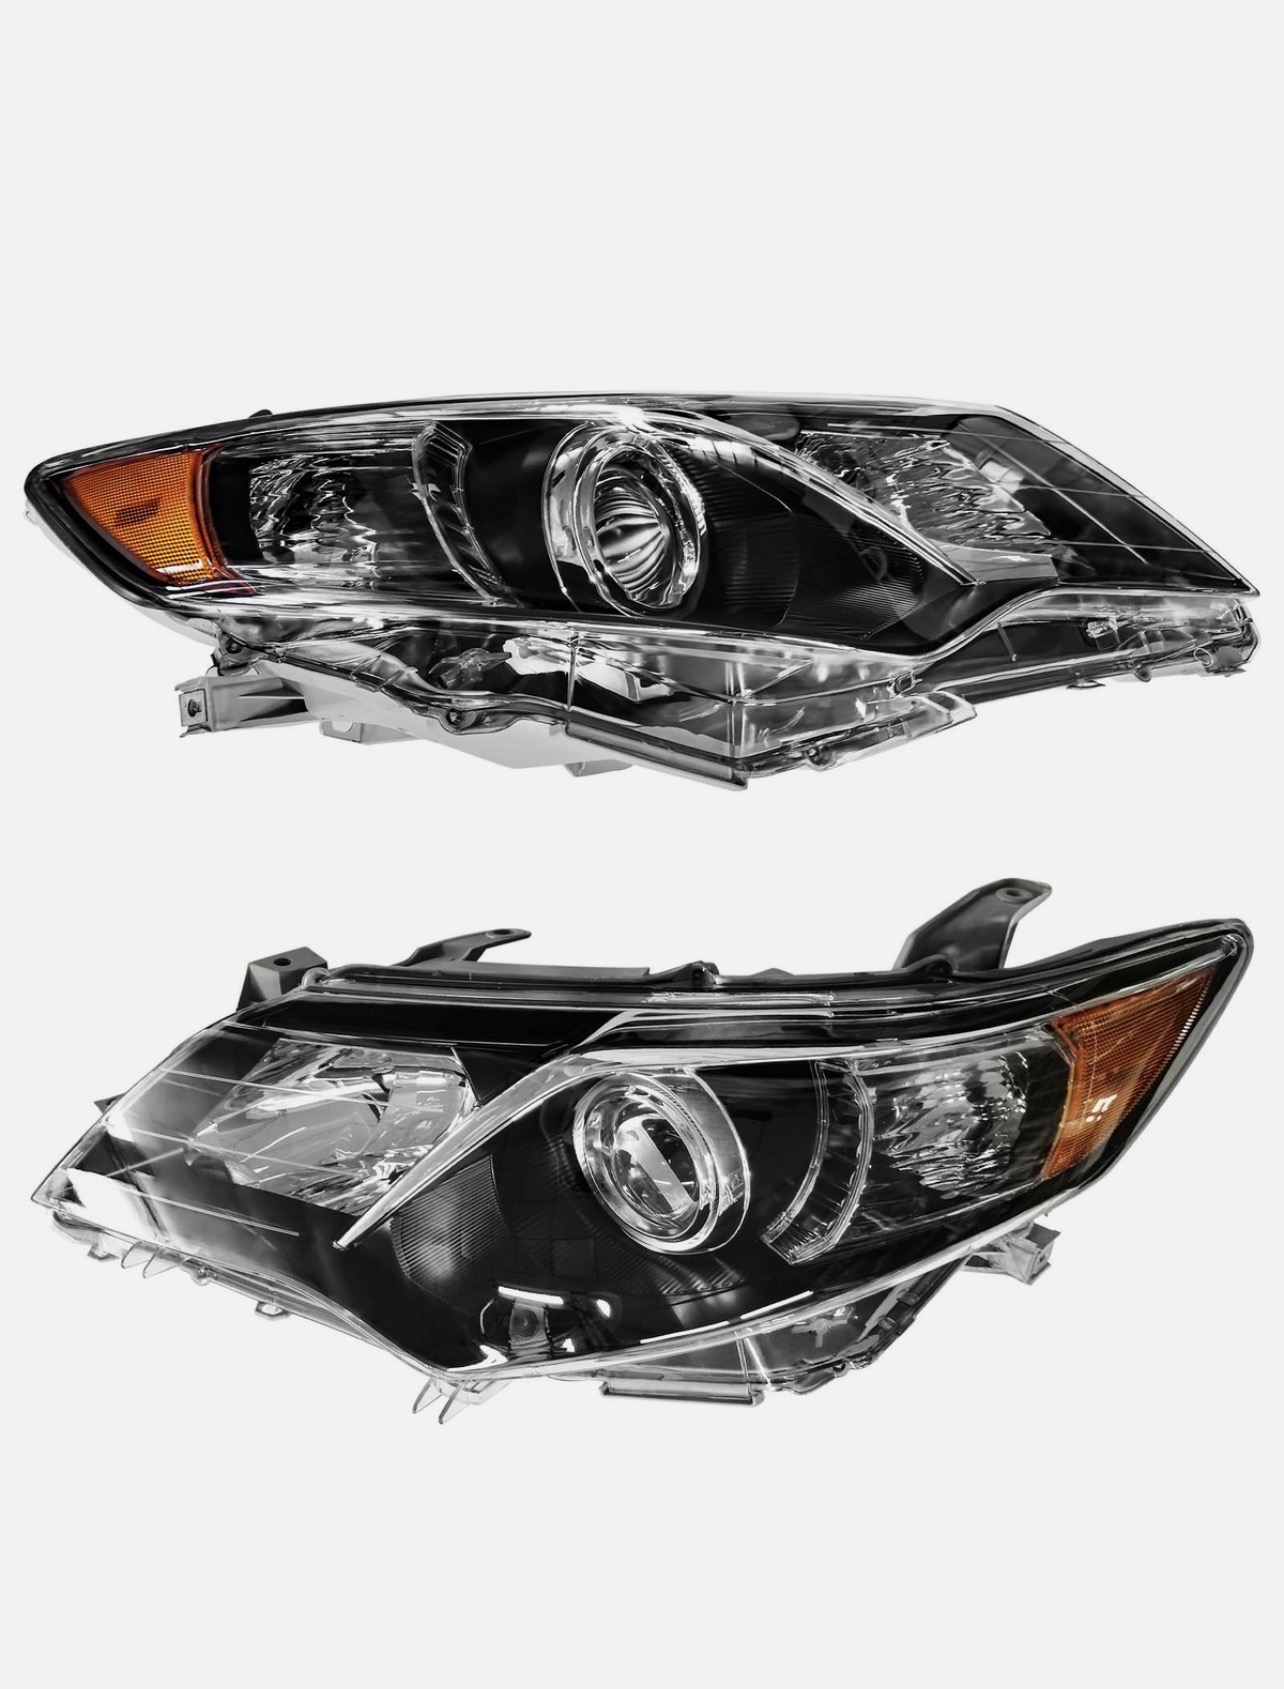
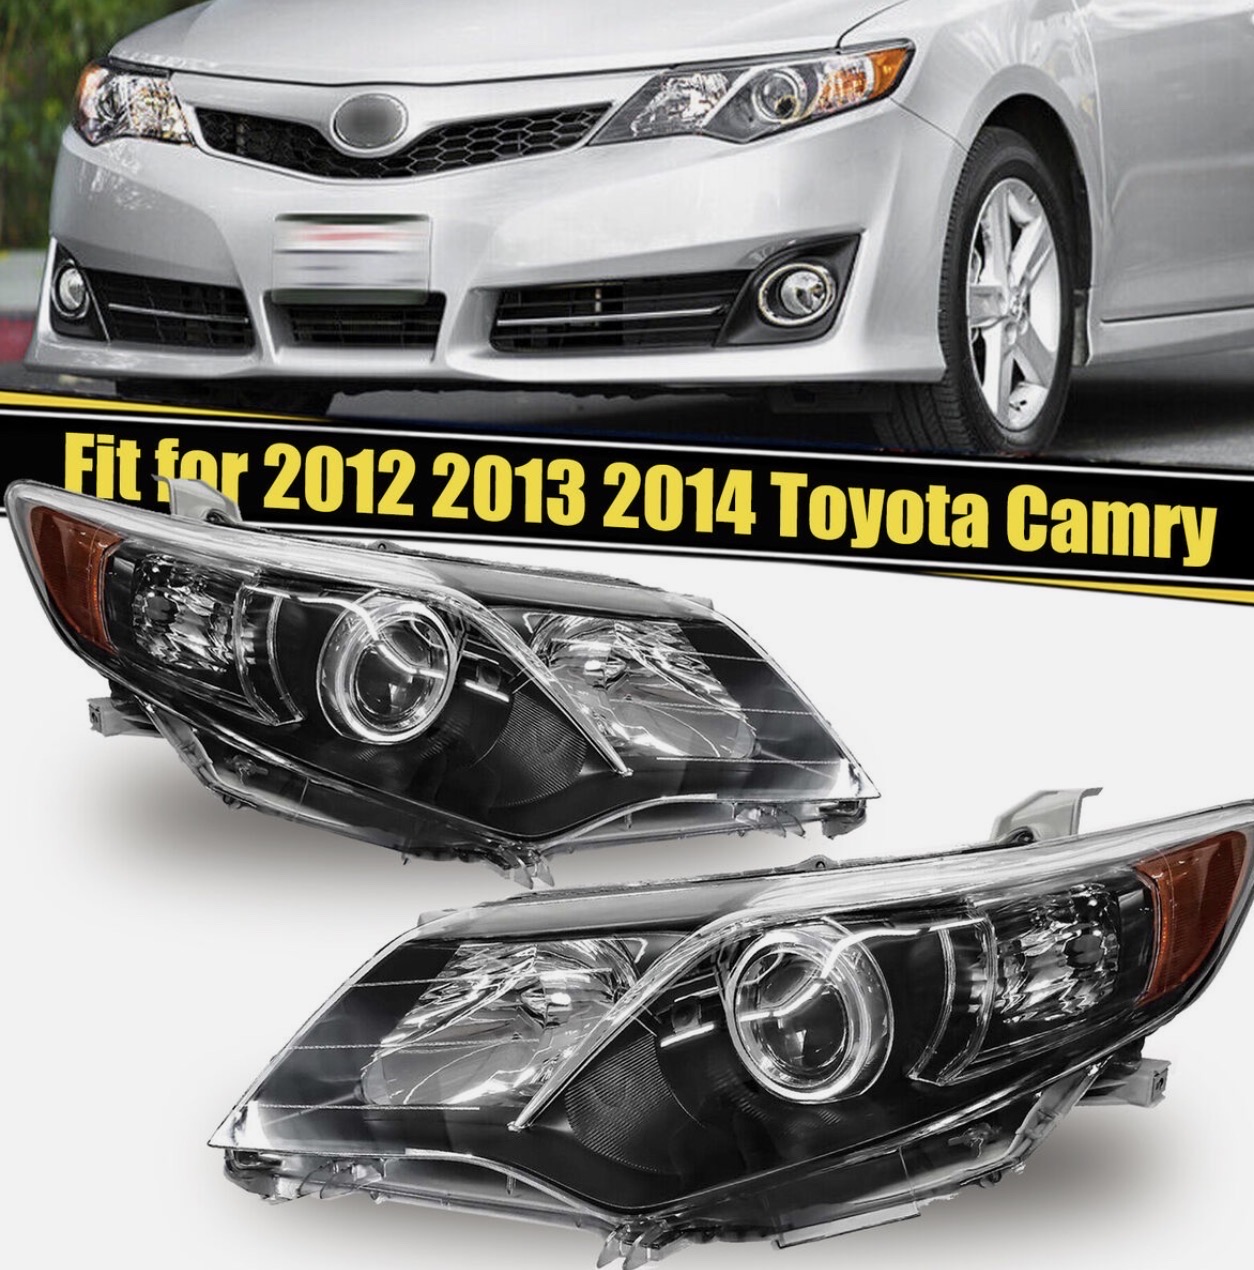
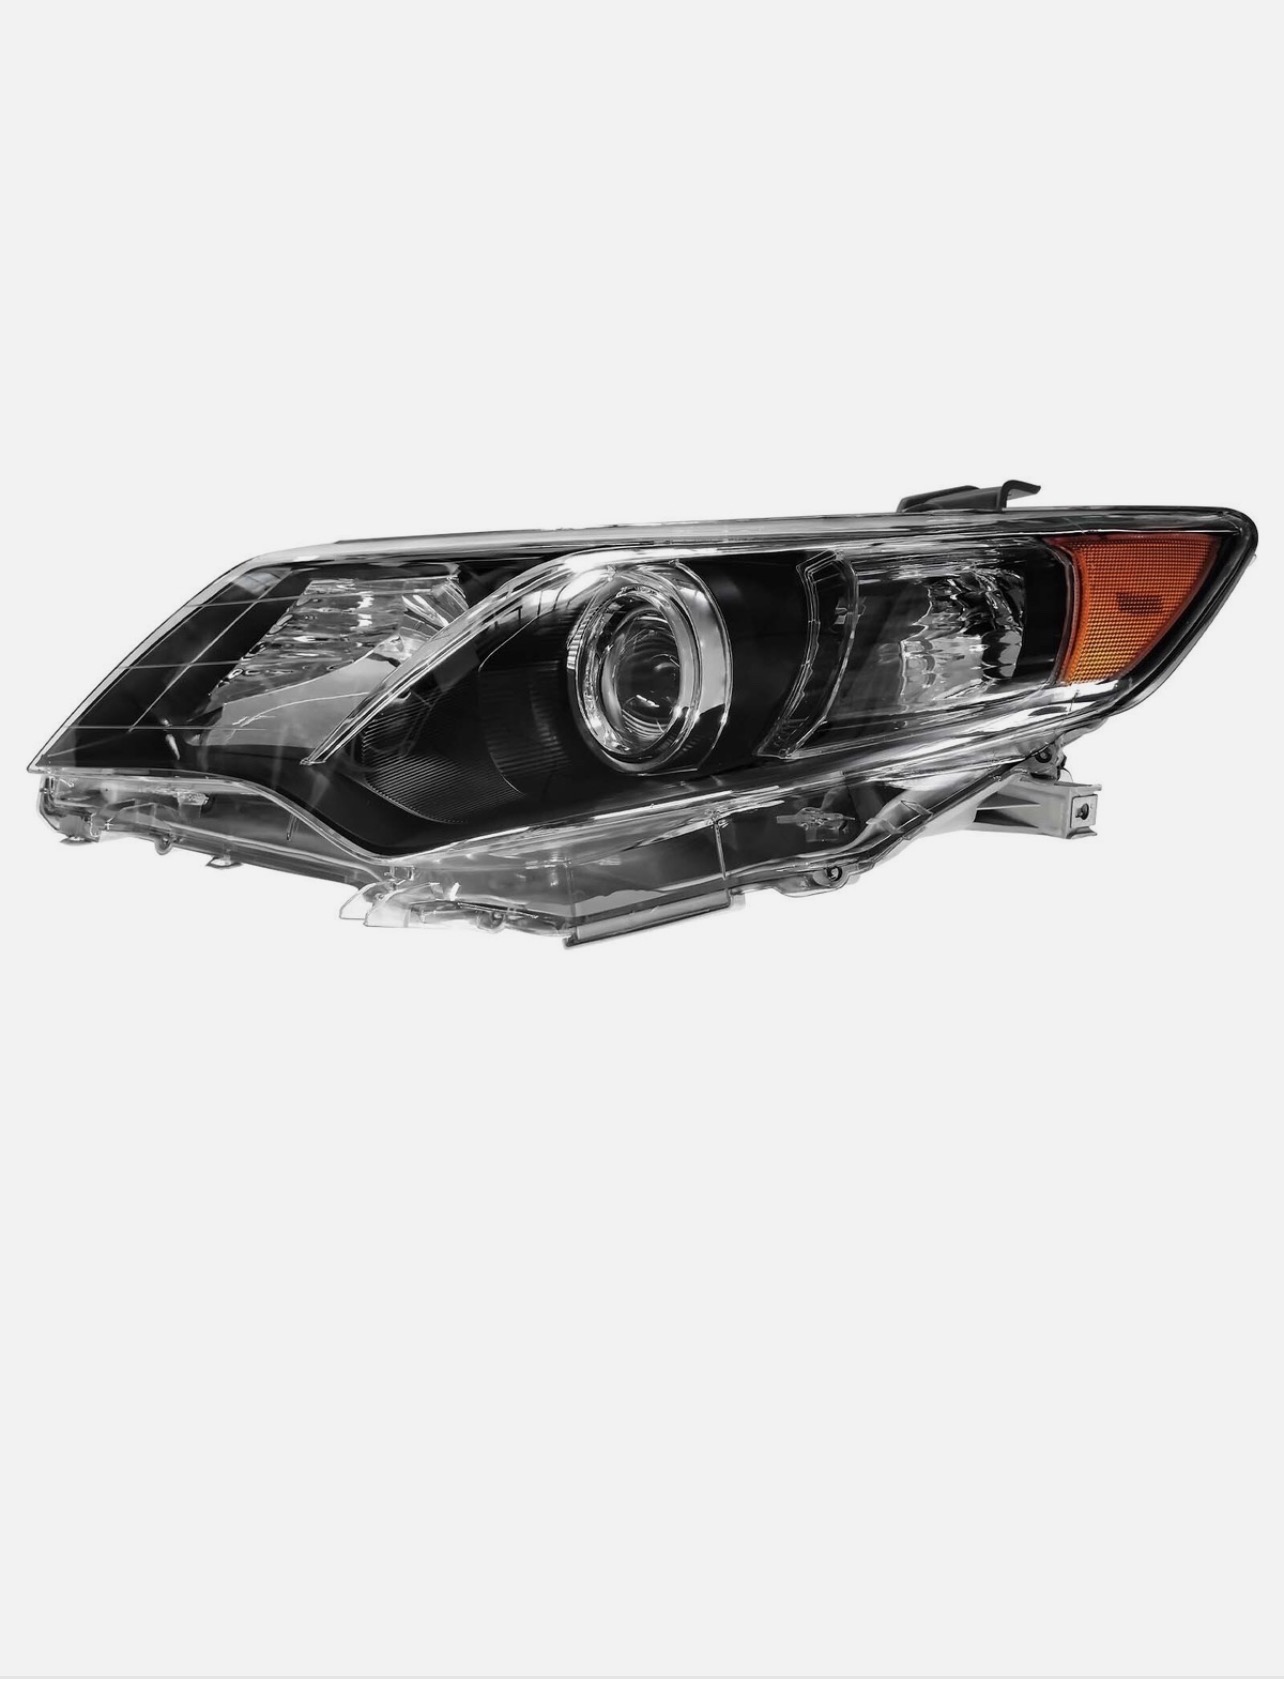
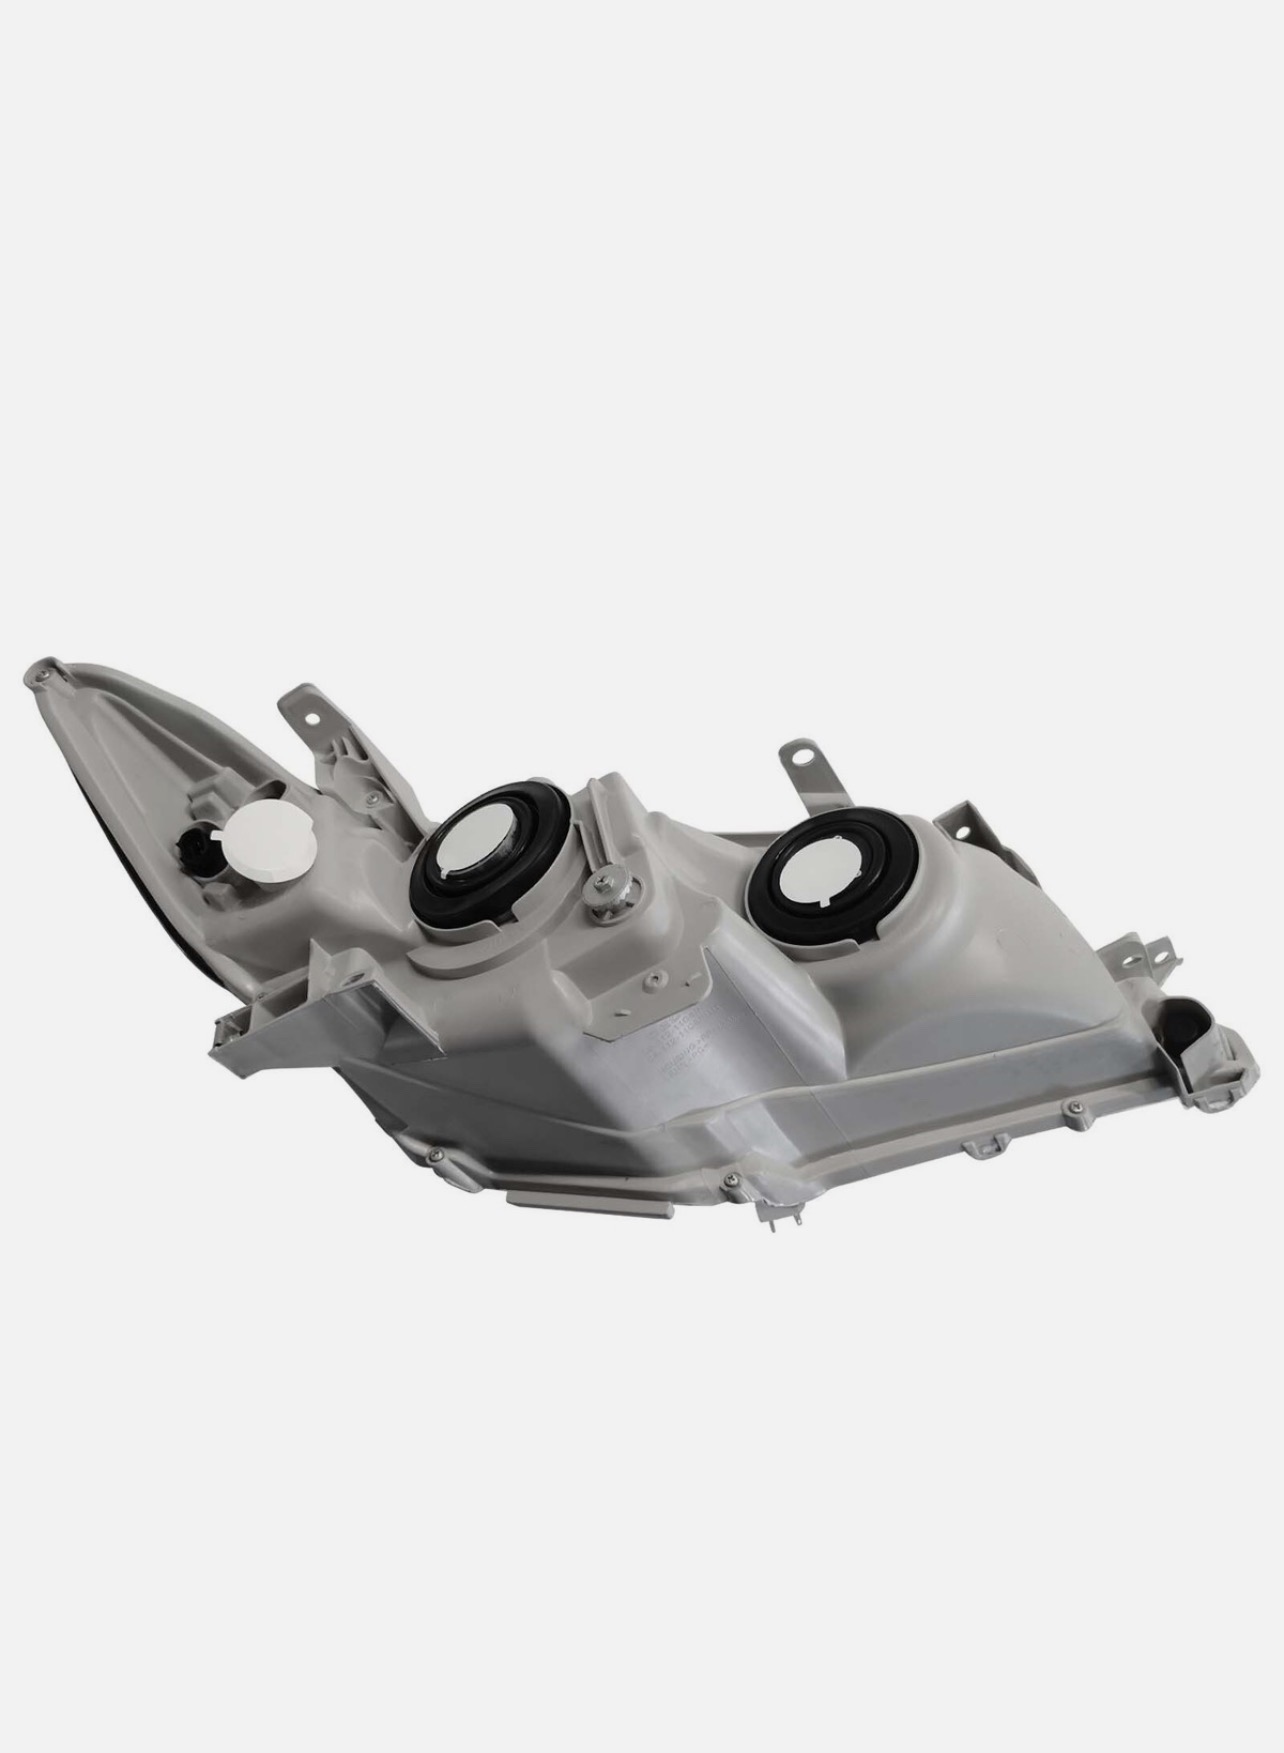
Toyota Camry Black Amber Pair Headlights Assembly Left+Right
Vehicle Fitment:
Fit For 2012 2013 2014 Toyota Camry
For more detailed fitment list, please click on @Compatibility Tab@ on the top of this page.
Fit For 2012 2013 2014 Toyota Camry
For more detailed fitment list, please click on @Compatibility Tab@ on the top of this page.
Package Included:
1x Pair of Factory Style Headlighs(Bulbs NOT Included)
Product Features:
- Black Housing Color,Clear Lens Color
- Our Lights Use the Highest Quality Butyl Sealant to Prevent any Imperfections to Enter the Light Housing.
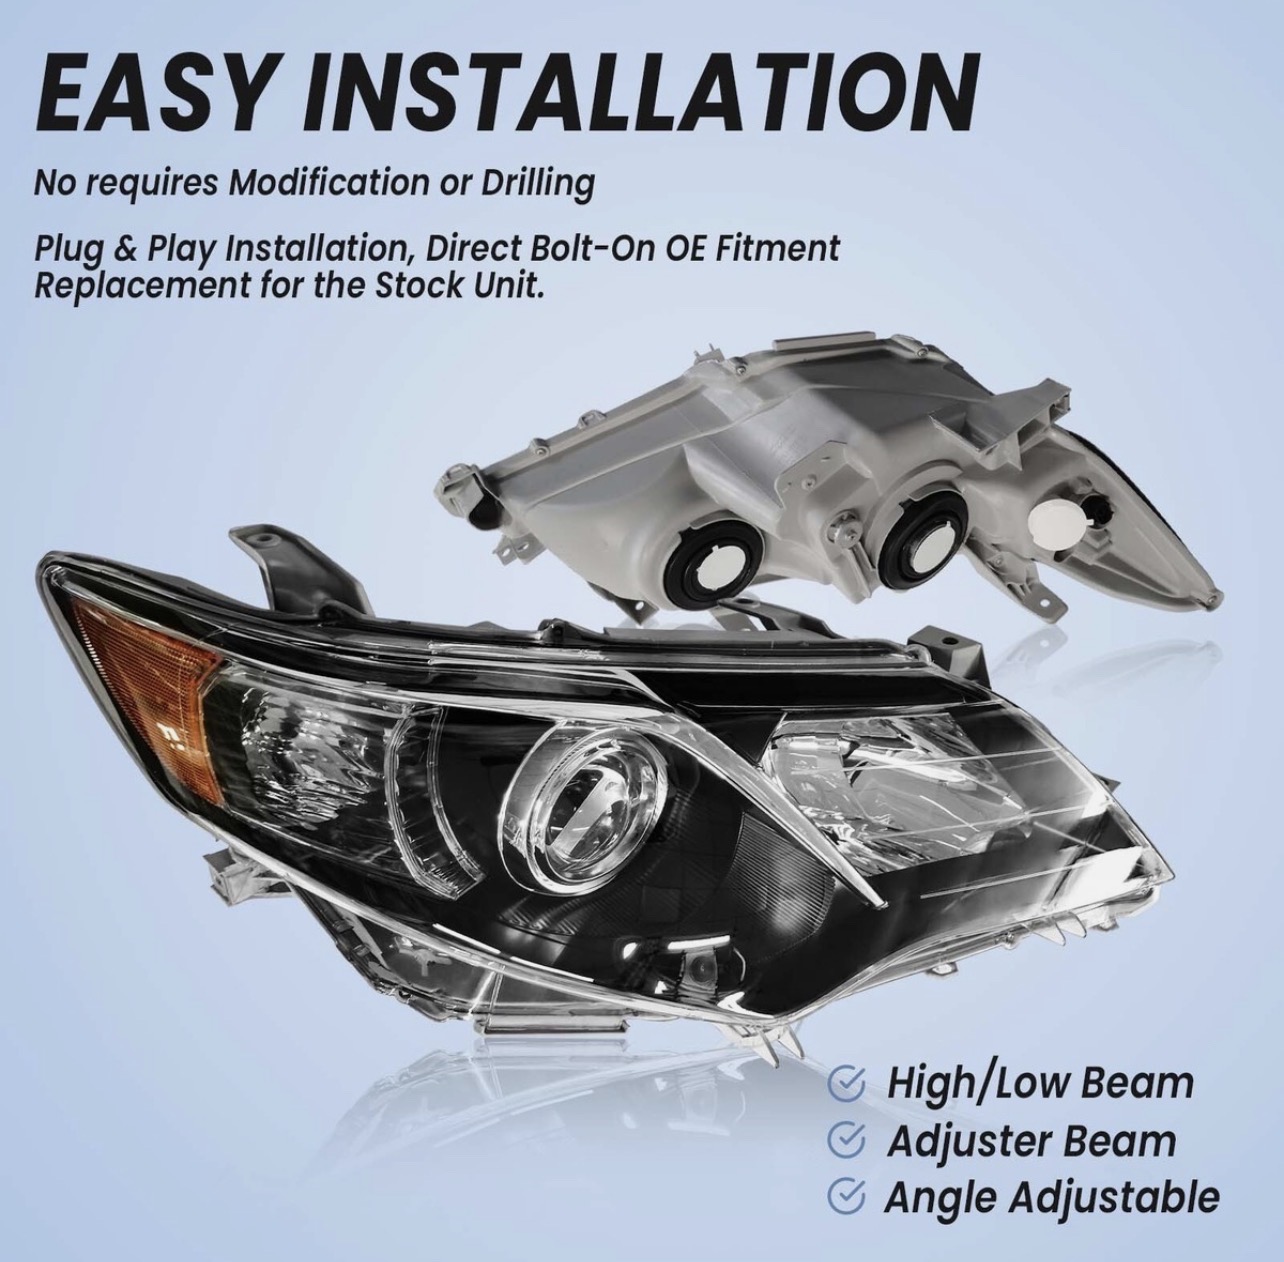
- Factory Style,Polished finish with luxury feel,Precise fitment,No modifications needed.
- 100% Legal Reflector and ompliant with DOT and SAE standards.
- High Quality Materials: Polycarbonate Lens Provide Strong Impact Resistance & High Temperature Resistance.
- 100% Brand New in the box with manufacturer packaging, never been installed before.
- Factory bolt-on OE fitment, no vehicle modifications are required; or replacement for the stock unit.
- Waterproof, dust-proof, shock resistant and heatproof
- The reflectors concentrate the hot spot directly underneath the step for distribution of light that is technically correct in giving a wider beam and aiding in distance vision
- Brings a different appearance to vehicle that great for show use or to replace old and worn headlights,they allow you to see the road in front of you clearly during the night and in any bad weather that may arise
Note:
Before you begin to adjust the light, make sure check the alignment of your lights first. Park the vehicle about 10 to 25 feet from the wall with the lights aimed at the wall. The centerlines of the headlights should not be any higher than 3.5 feet above the ground.
1. Find the adjustment screws:Firstly, locate the adjustment screws on your vehicle.
2. Adjust the headlights individually:The headlights should be adjusted one at a time. Put a rag or towel over a chair in front of the light you want to block. Covering the light assembly directly can damage the plastic lens.
3. Adjust the vertical field:The screw on the top of the light housing should be turned clockwise to raise the lights and counterclockwise will lower the light. The headlight should be adjusted until the top of the most intense part of the light beam shines directly on or just below the center of the tape line on the wall.
4. Adjust the horizontal field:The screw on the side of the light housing should be turned to get the right/left adjustment correct. Adjust the lens so that the most intense part of the beam is to the right of the vertical line.
5. Test your results:If there is a problem after installation, please check whether the connection is correct. If you have any other questions, please feel free to contact us!
HOW TO DRIVE AWAY
TEMPORARY CONDENSATION:
TEMPORARY CONDENSATION:
- 1.Check the one-way vents on the housing and make sure they are not blocked.Turn on the low beam for 20 minutes.
- 2.Take the bulbs out and clear the mist.
- 3.Put a silica gel packet inside to leave it dry.
- This product recommends professional installation.
- Any damage during installation will not be refunded.
- Instructions are not included